Home
>
All Guides
>
How to Download your ChatGPT data
📄 How to Download your ChatGPT data

Here are Seven Easy Steps to Download your ChatGPT Data
To download a copy of your ChatGPT data, including your chat history and account information, follow the step-by-step process outlined below. This ensures transparency and gives you full control over your data.
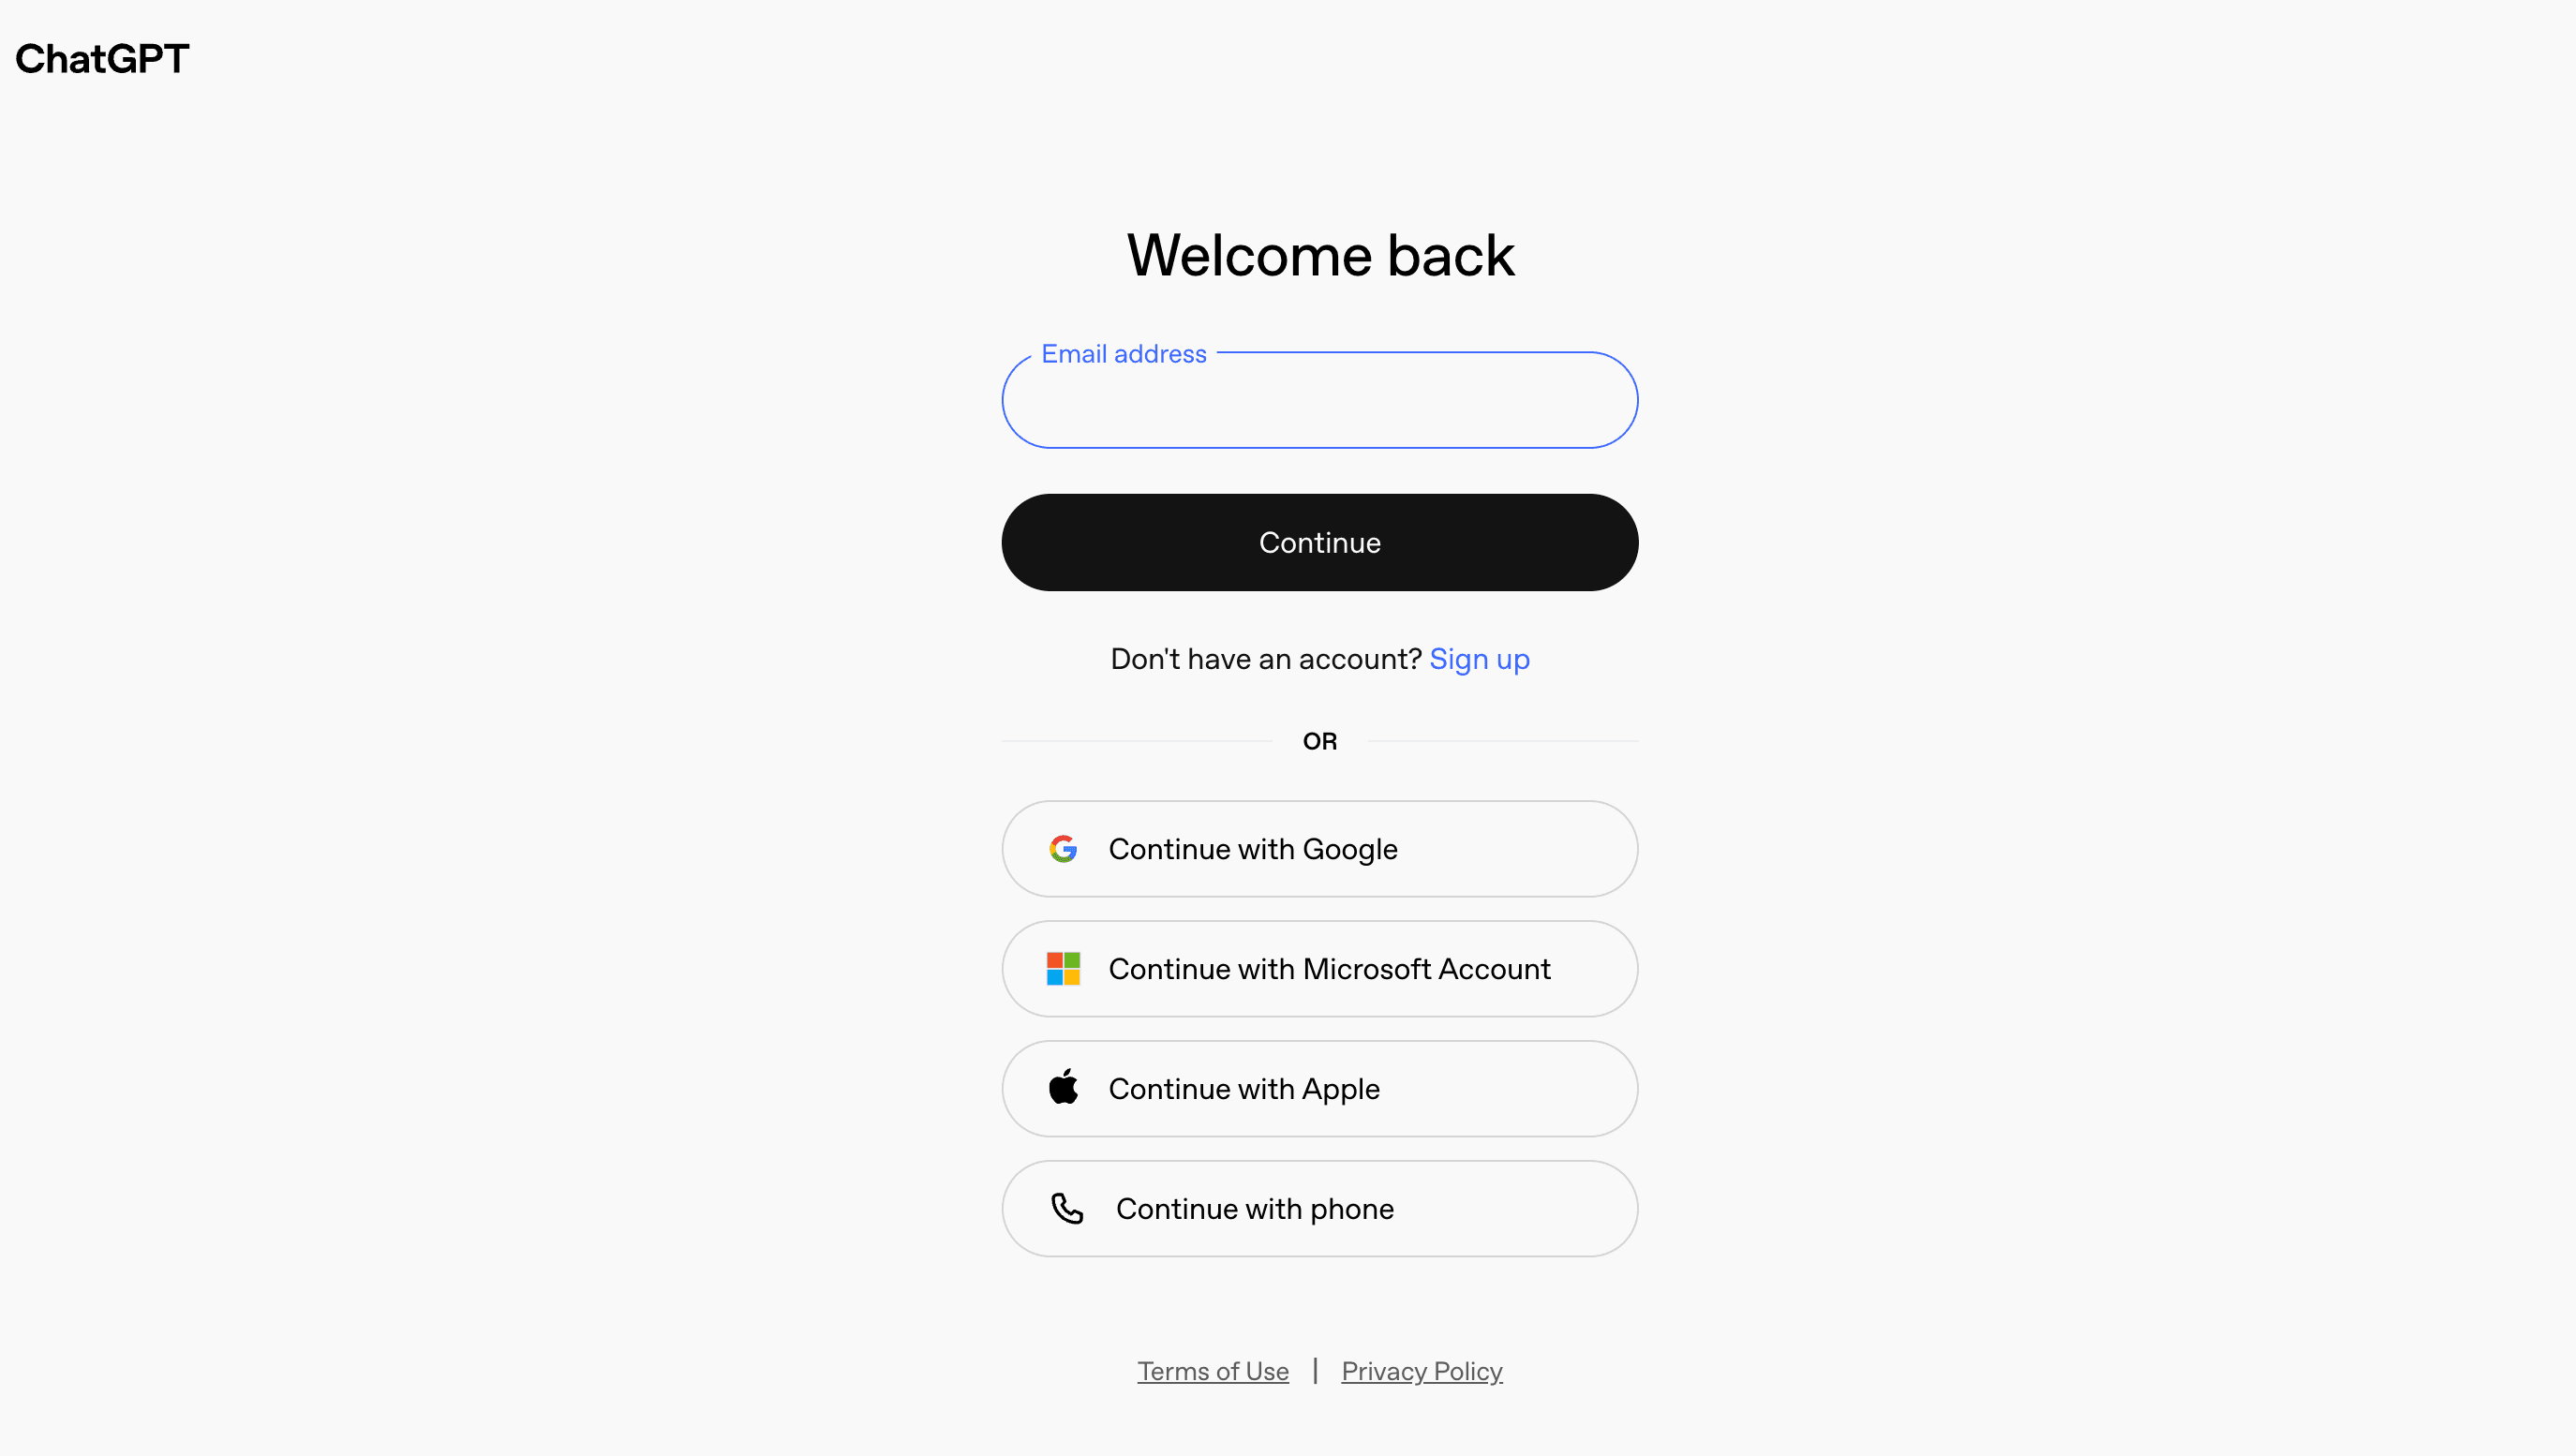
Sign In: Navigate to https://chat.openai.com and log in using your registered credentials. Ensure you are accessing the correct account from which you want to export data.
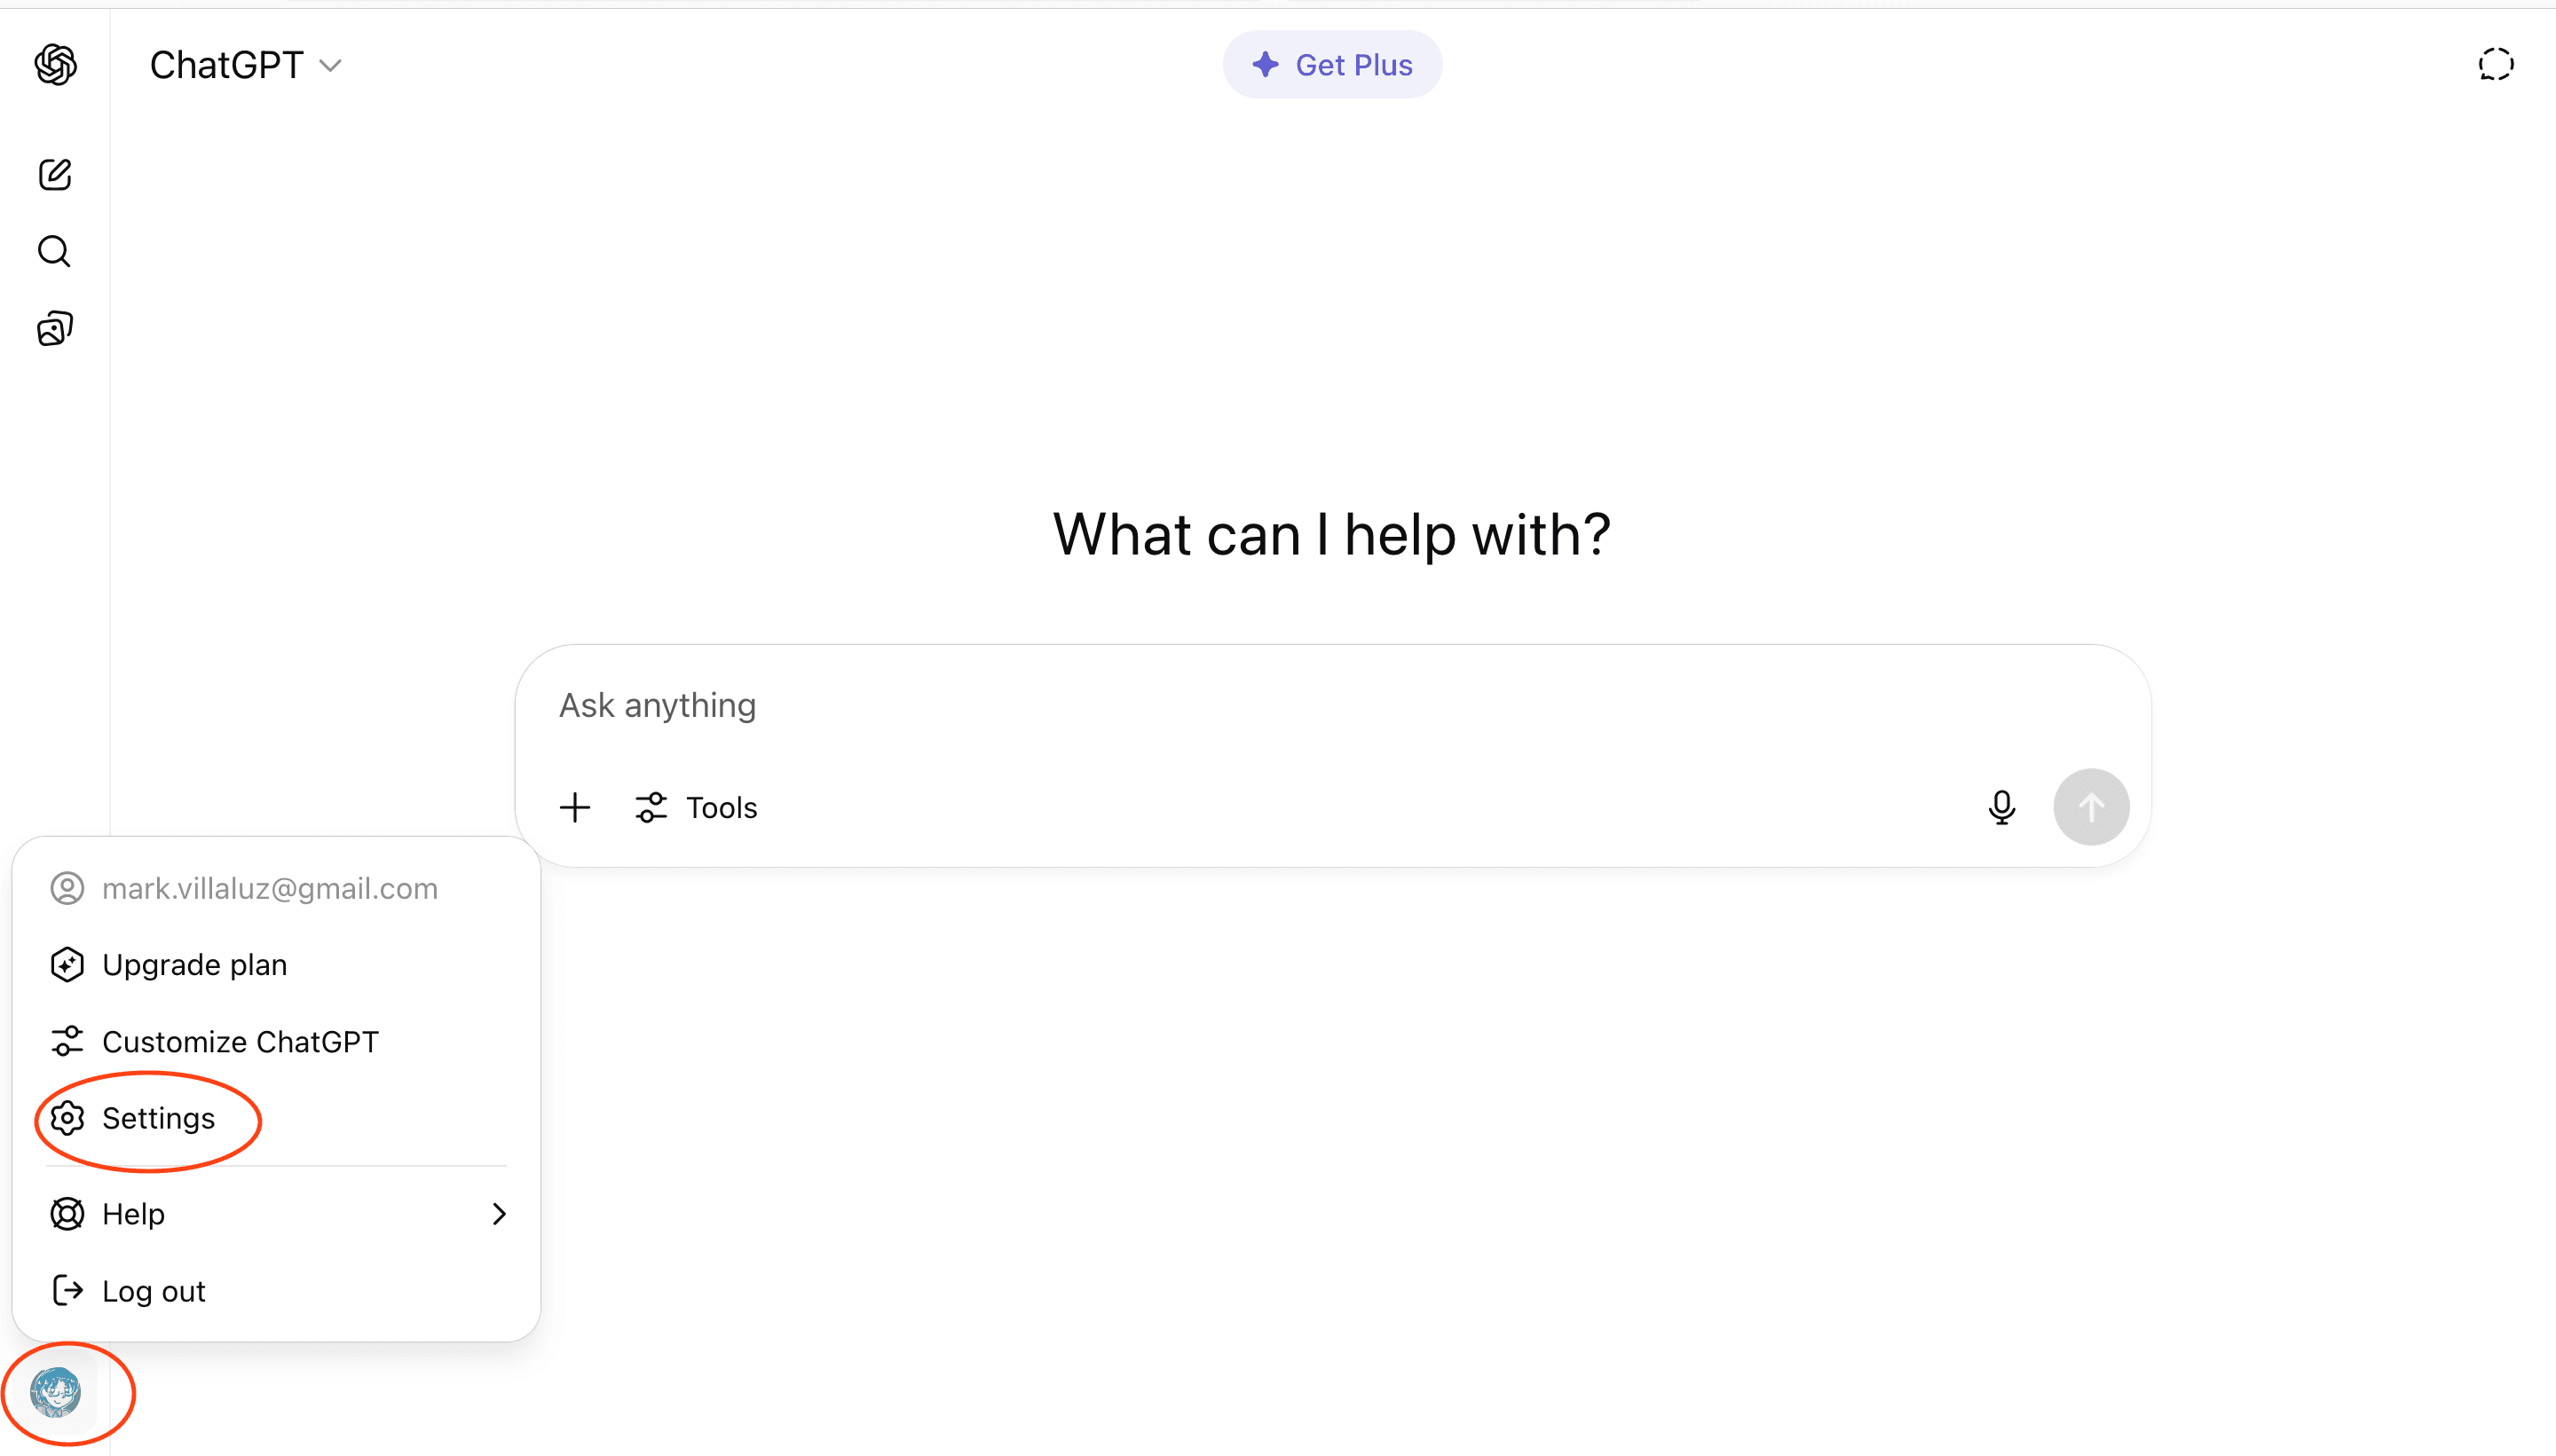
Next, Access Your Settings: Click on your profile icon (It is usually in the lower left hand corner if you are using your browser.) and select "Settings".
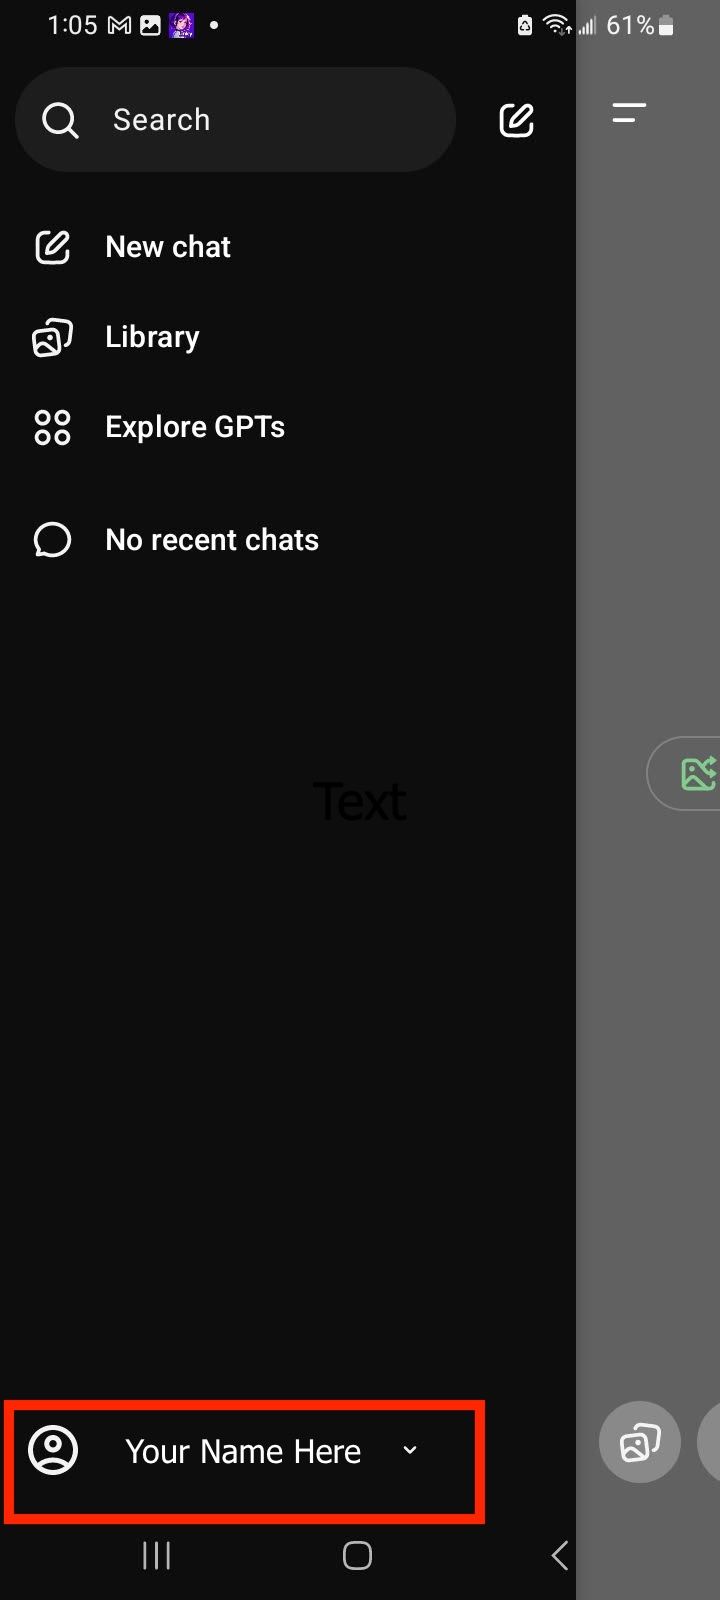
On Your Mobile: Tap on the top-left corner with 2 lines, then tap on your profile name at the bottom.
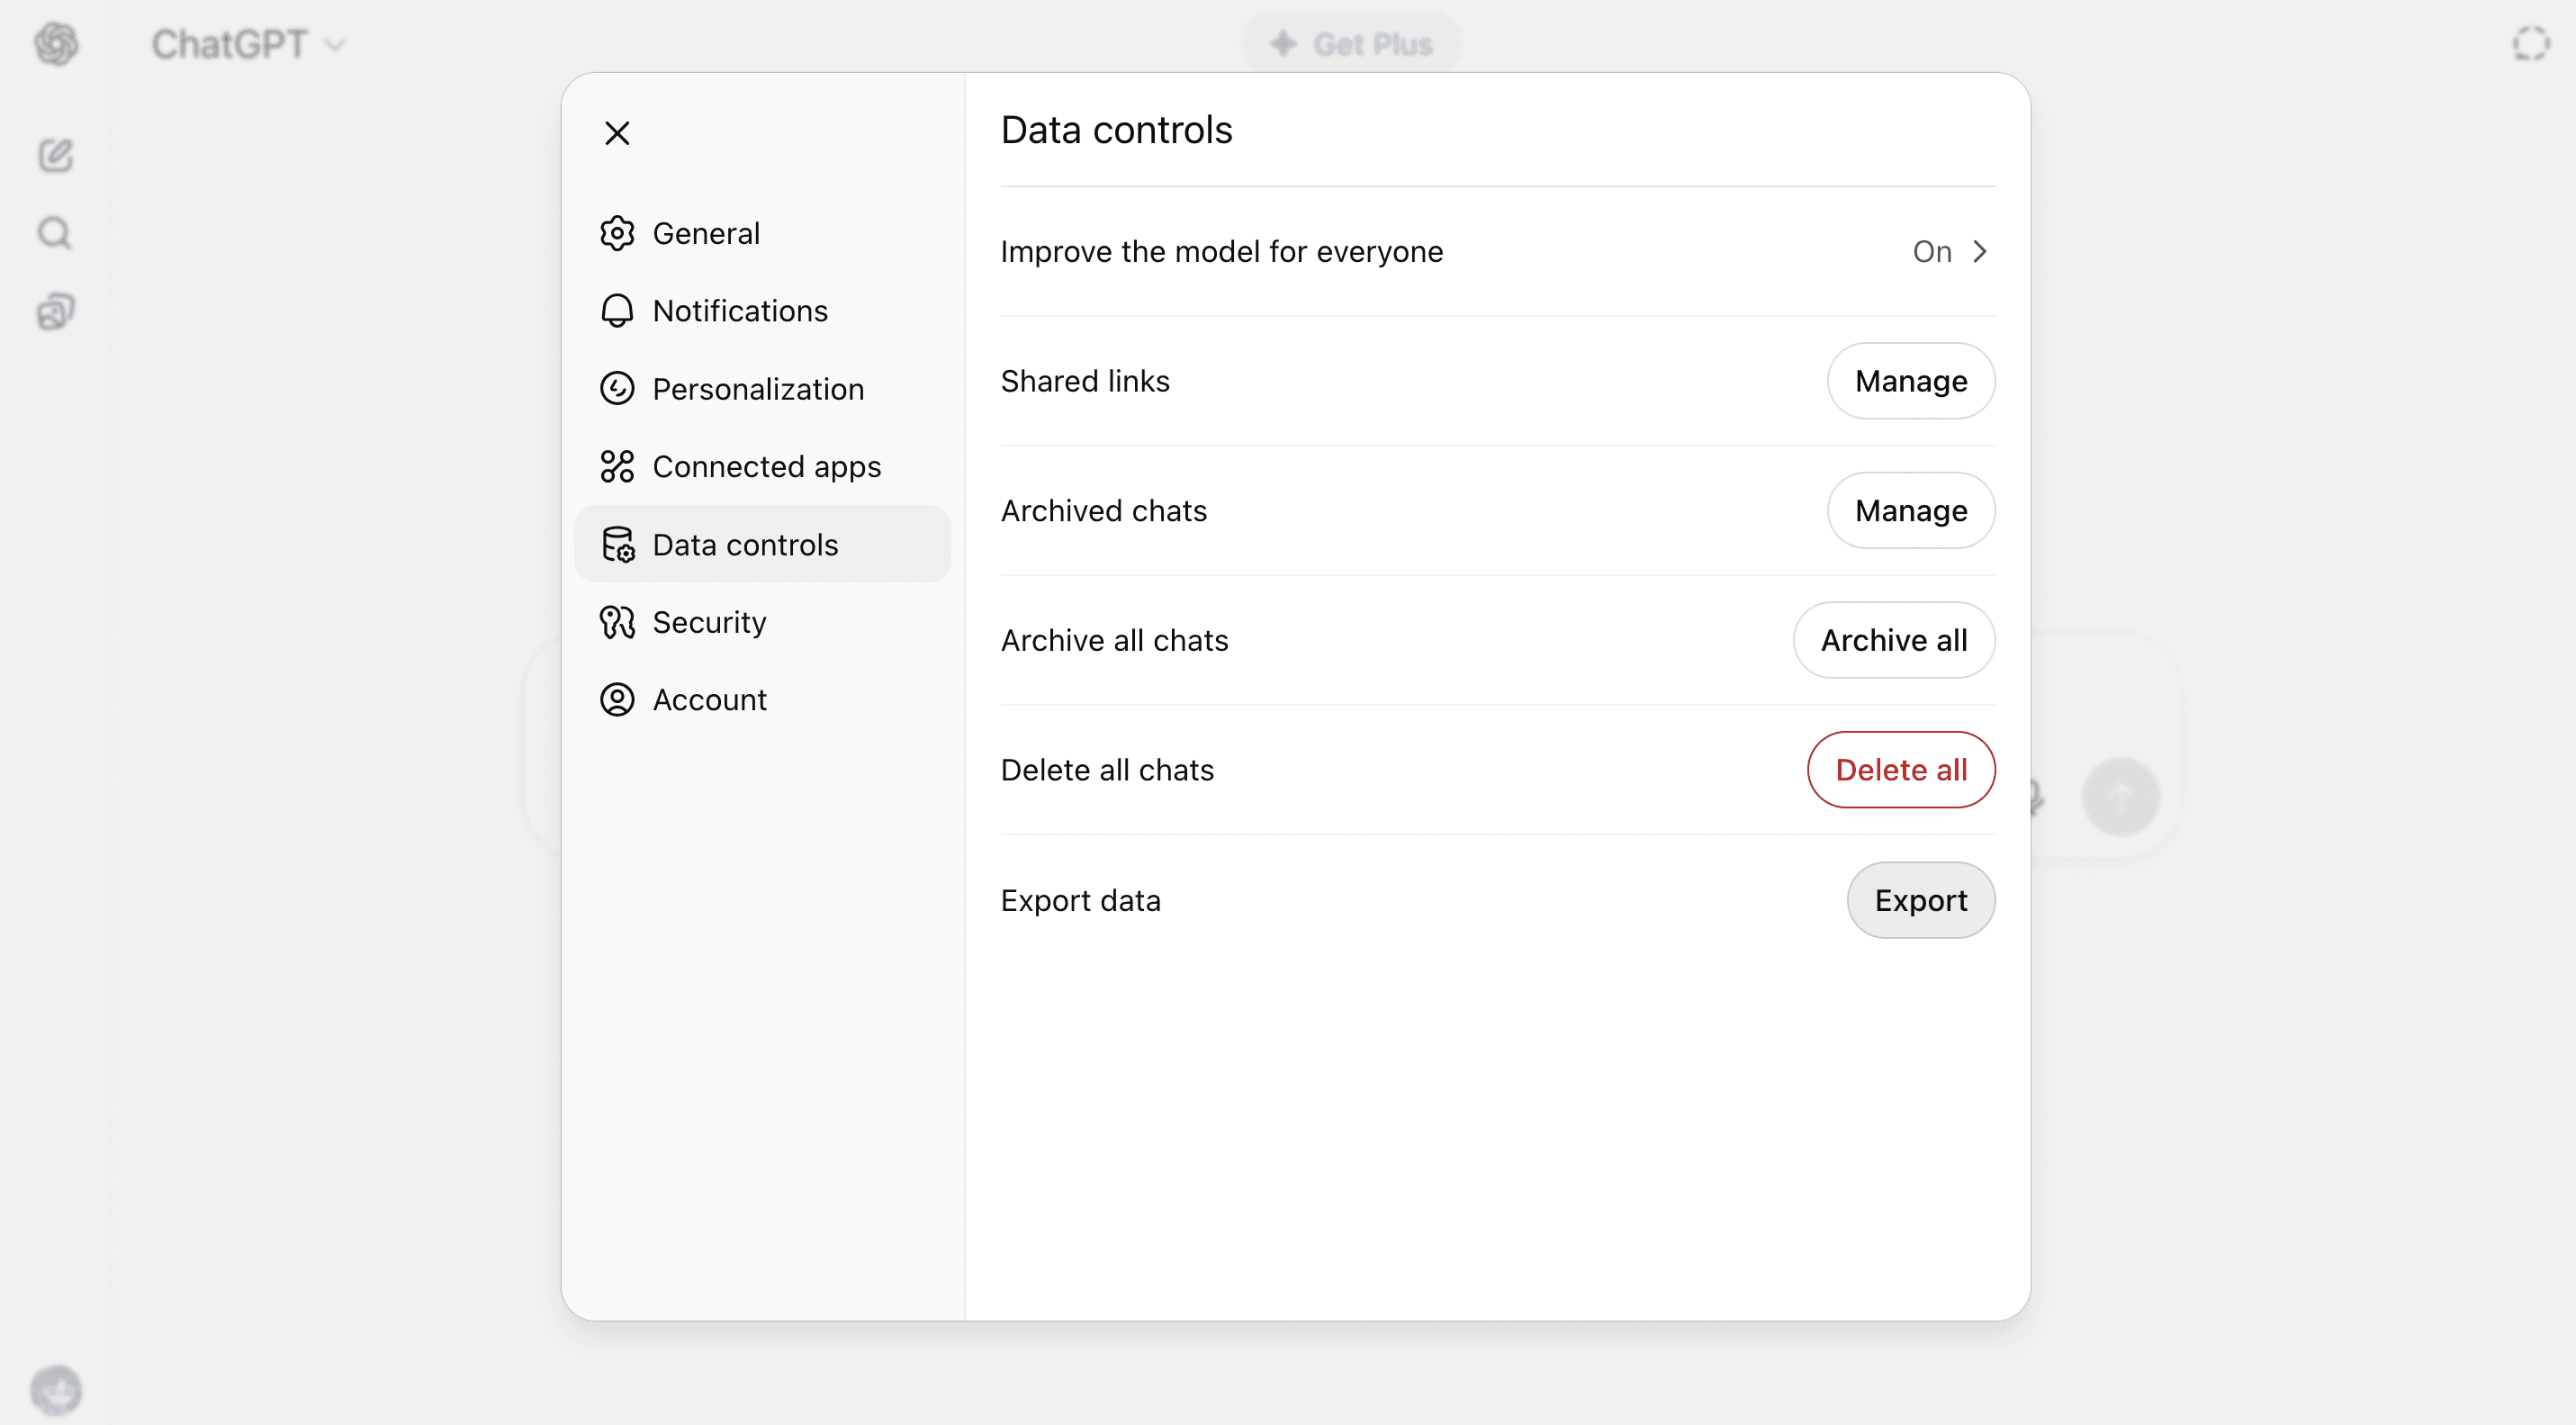
Go to Data Controls: In the Settings panel, look for the section labeled “Data Controls”. This section allows you to manage data-related preferences, including data exports, conversation history, and privacy settings.
Start Data Export: Within Data Controls, scroll down until you find the “Export Data” option. Click the “Export” button to begin the data export process. This action will prompt the system to compile your data for download.
Confirm the Export: A confirmation dialog box will appear, asking you to verify your request. Click “Confirm export” to authorize the data export. The system will begin preparing your data, which may take a few minutes depending on the volume.
Check Email: After confirming your export request, OpenAI will send a confirmation email to the address associated with your account. This email will include a secure link to download your data once the export is ready.
Note: If you do not see the email within a few minutes, be sure to check your spam or junk folder.
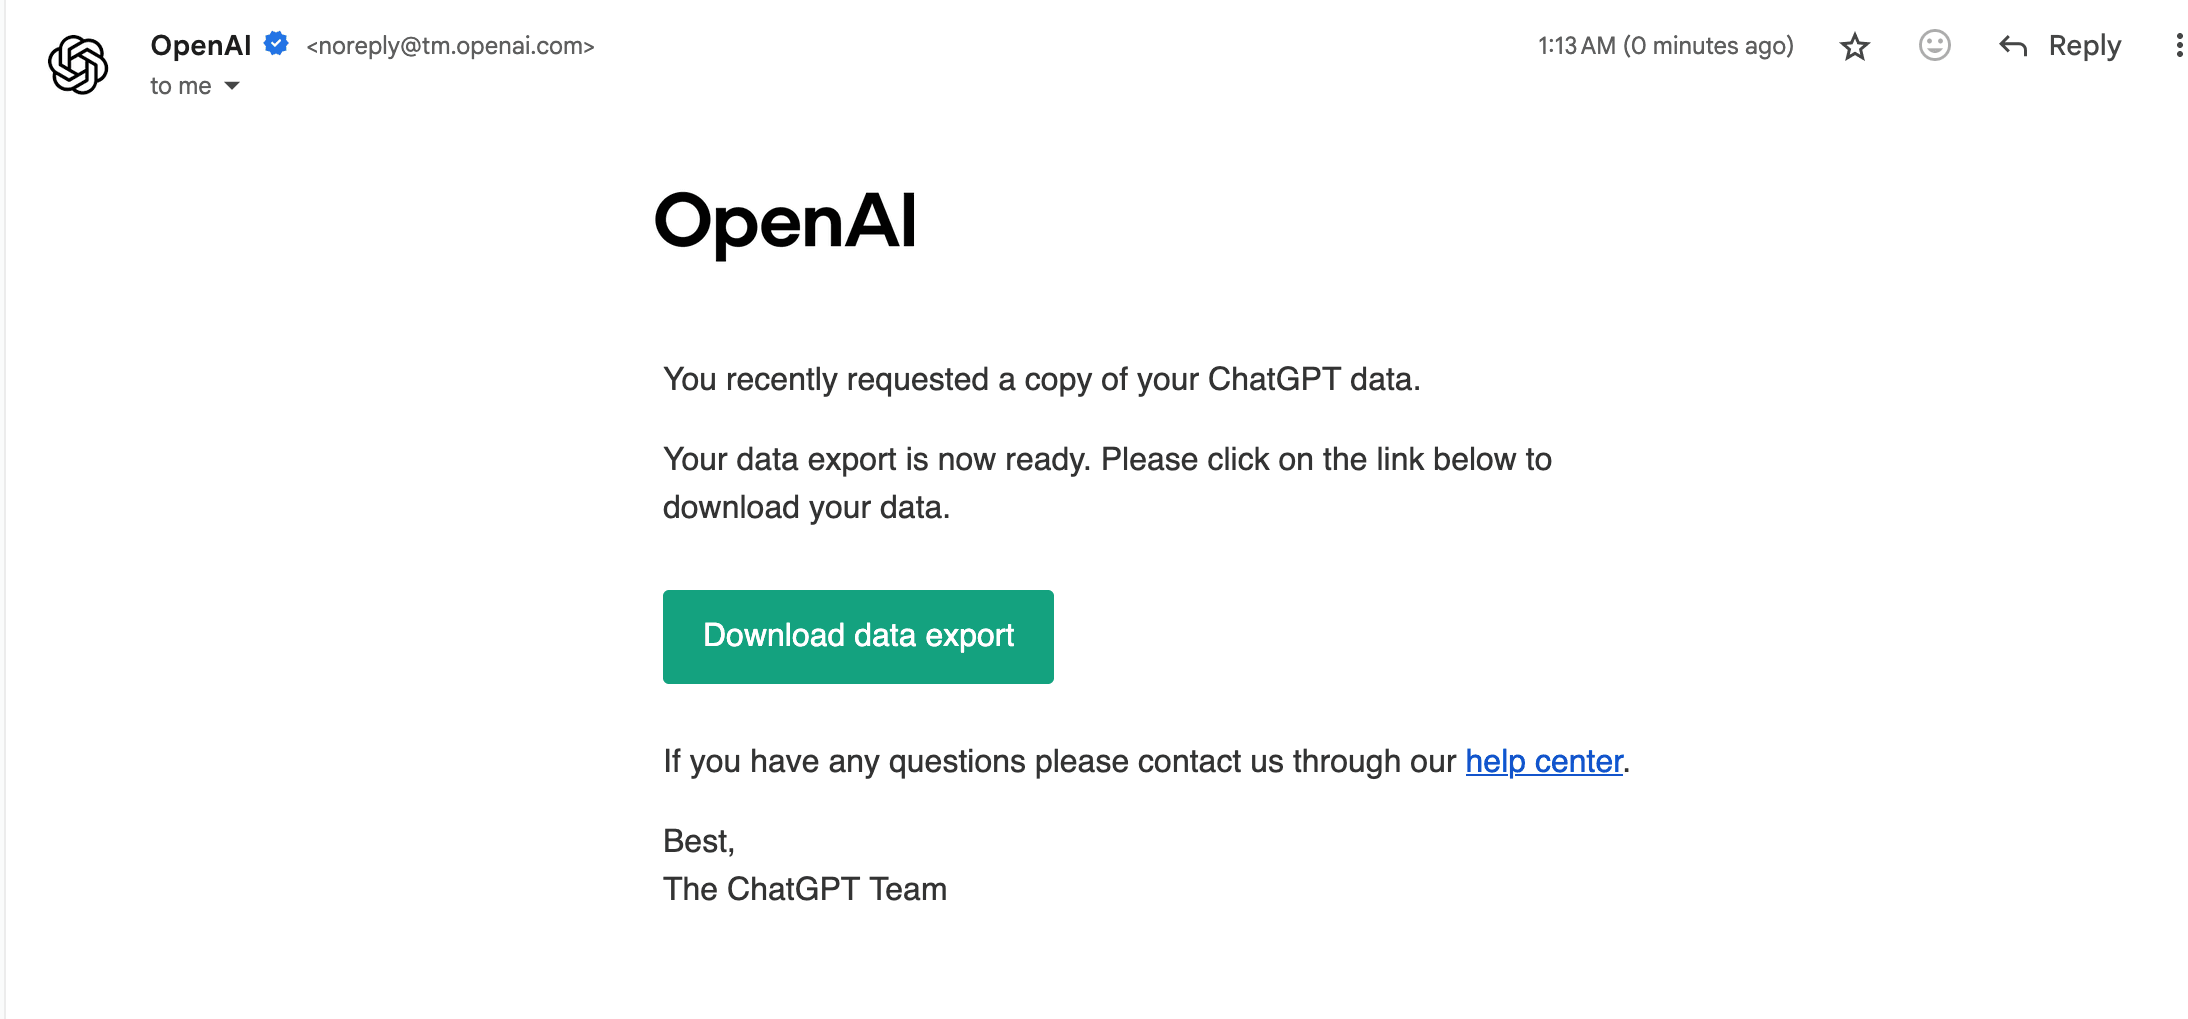
Download Your Data: Open the email titled “Your ChatGPT data export is ready” and click the “Download data export” link. This will download a compressed .zip file containing your account information and chat history.
Other Guides
📄 How to Download your ChatGPT data
📄 Troubleshooting Datacy Extension Issues
📄 How to Download your data from Gemini
📄 How to Generate your Referral Link
📄 How to Monetize your Web Browsing
📄 How Much will I Earn using Datacy
📄 Getting Matched with Other Opportunities
📄 How to Request your Data from Instagram
📄 Datacy’s Frequently Asked Questions (FAQ)
📄 Download and Sign-Up for Datacy
📄 What are the Key Features of Datacy
📄 Can I Use Datacy on my Phone
📄 What is Datacy
📄 Your Data Privacy is Our Top Priority
📄 How to Connect your Social Media Apps
📄 Tips: Earning More Rewards Browsing with Datacy
📄 Which Browsers Support Datacy
📄 Understanding the Earnings Page on the Datacy Dashboard
📄 Getting Started
📄 Verifying your PayPal Account
📄 Payment Methods for Datacy
📄 How to Use the Earnings Tab
📄 What Happens to my Collected Data
📄 Tips: Get Matched with Brand Communities on Datacy
📄 Generate your Referral code on the Datacy Dashboard
📄 How to Manage your Data Preferences
📄 How to Make Data Deletion Requests
📄 How To Request your Data from Tiktok
📄 3 Tips to Maximize your Earnings with Datacy
📄 How to Earn and Benefit from your Data with Datacy!
📄 Setting up a Datacy Account
📄 Seamlessly Connect Your PayPal to the Datacy Extension
📄 How do I Cash Out Datacy Payments
📄 What Countries are Supported by Datacy
📄 Surf to Datacy FAQ
📄 How do I Earn with Datacy
📄 How to Connect Reddit, X, and Youtube to Datacy
📄 Key Features of Datacy
📄 How to Restrict Websites from your Datacy Dashboard
📄 Connect Datacy with Stripe
⬅️ Back to Knowledge Base